This post contains affiliate links. Click here to read my affiliate policy.
Last Updated on December 8, 2023
Whenever I’m in the mood for a sweet and tangy dish, pineapple fried rice comes first to mind.
Honestly, there’s nothing like homemade fried rice to fill your stomach AND your heart. And guess what? This dish will only take you 25 minutes from start to finish.
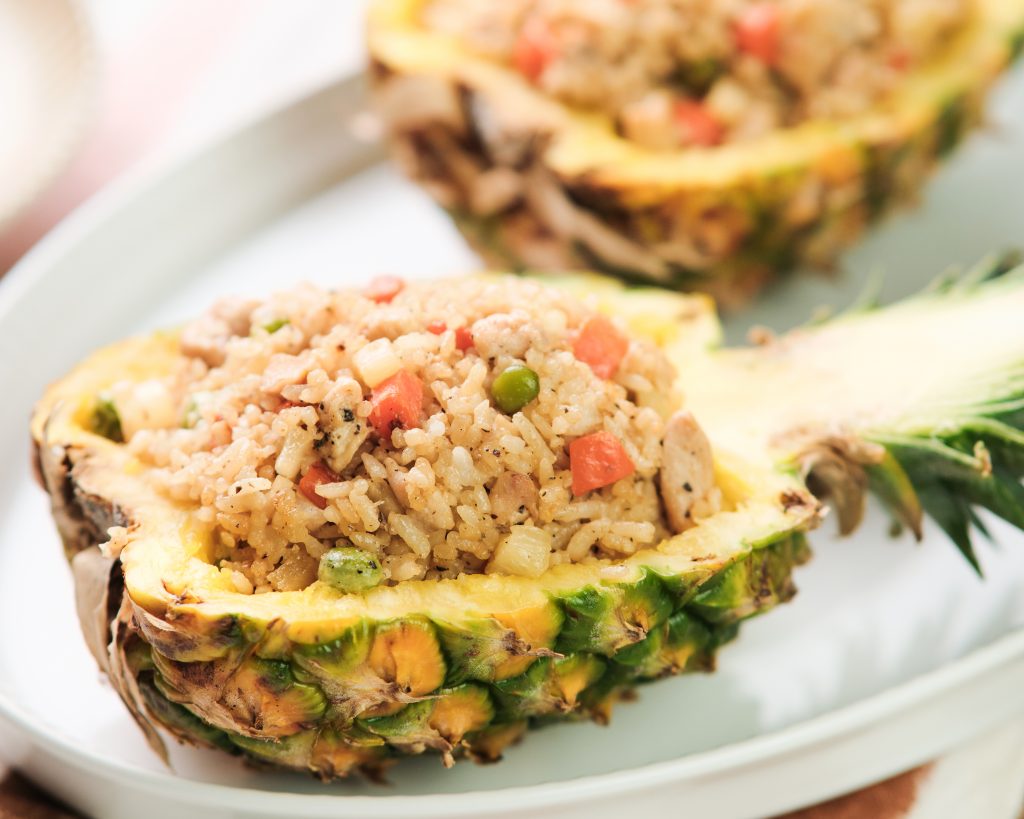
Honestly, there’s nothing like homemade healthy pineapple fried rice to fill your stomach AND your heart. And guess what? This dish will only take you 25 minutes from start to finish.
So, if you’re looking for a simple yet hearty dish to make in a crunch, take a look at this delicious pineapple fried rice recipe (hint: serve it with Filipino lumpia and kalua pork). While it’s not 100% traditional, it’s mighty yummy, with just the right balance of sweet and spicy flavors.
So, if you’re ready to get some good food in your stomach, let’s get started, shall we?
Ingredients
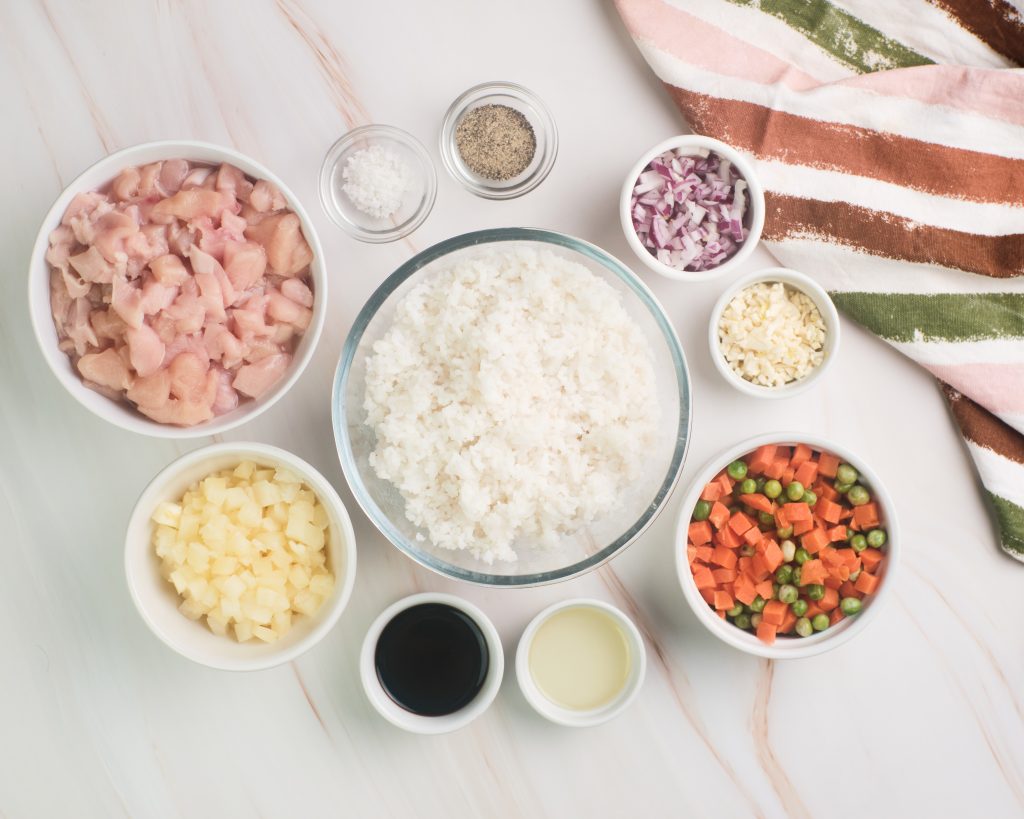
1 Tbsp coconut oil
3 cups of cooked rice
2 cloves garlic, minced or pressed
1 small onion, peeled and diced
1 lb boneless, skinless chicken breasts, diced
1 cup of fresh chopped pineapple
1 cup of frozen carrots and peas
1 1/2 tsp sea salt
1 tsp black pepper
4 Tbsp coconut aminos or gluten-free tamari
Instructions
Prep Time: 15 mins
Cook Time: 10 mins
Total Time: 25 minutes
Portion: 2 to 4 servings
Step 1: Heat the Oil
Place a large cast iron skillet, wok, or non-stick frying pan over medium-high heat and wait for it to get hot. Once you add a drop of water to the pan and it starts sizzling immediately, add a tablespoon of coconut oil.
ٍStep 2: Cook the Chicken
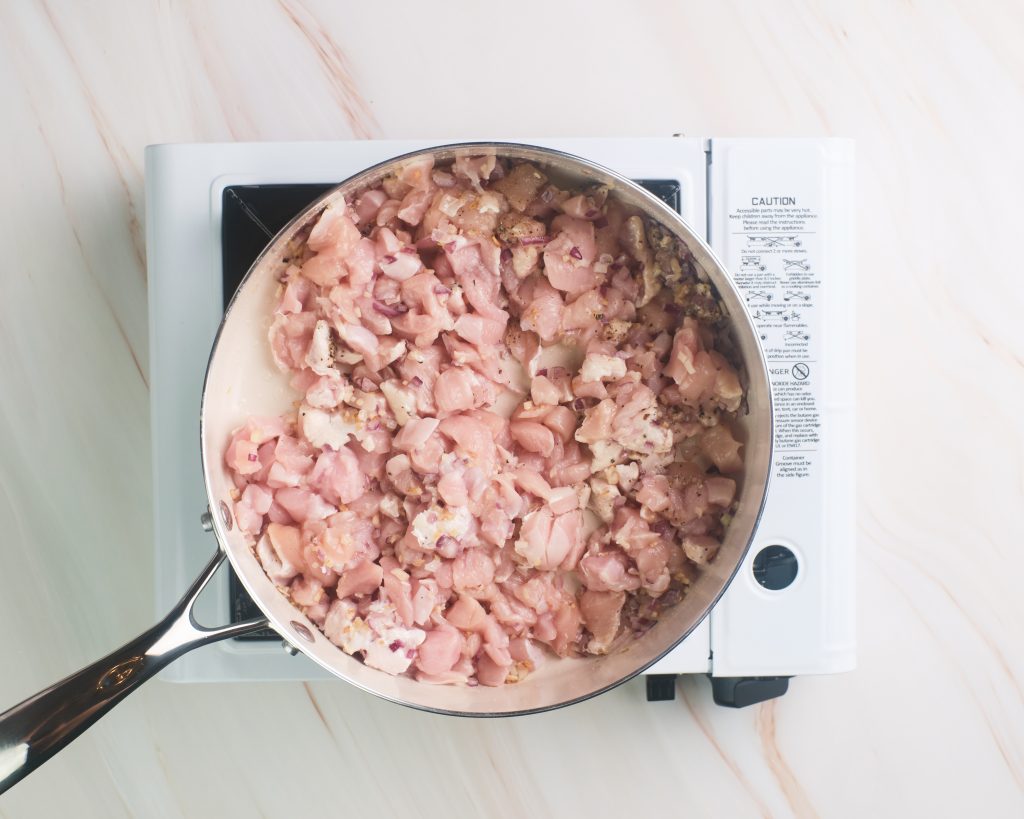
When the oil heats up sufficiently, throw in the minced garlic and diced onions. Sauté for 3-4 minutes, stirring constantly, until the onions become translucent and slightly caramelized.
Then, season the diced chicken breast with some salt and black pepper, and add them to the pan. Cook it until they’re no longer pink, for around 6-7 minutes.
Step 3: Add the Rice and Vegetables
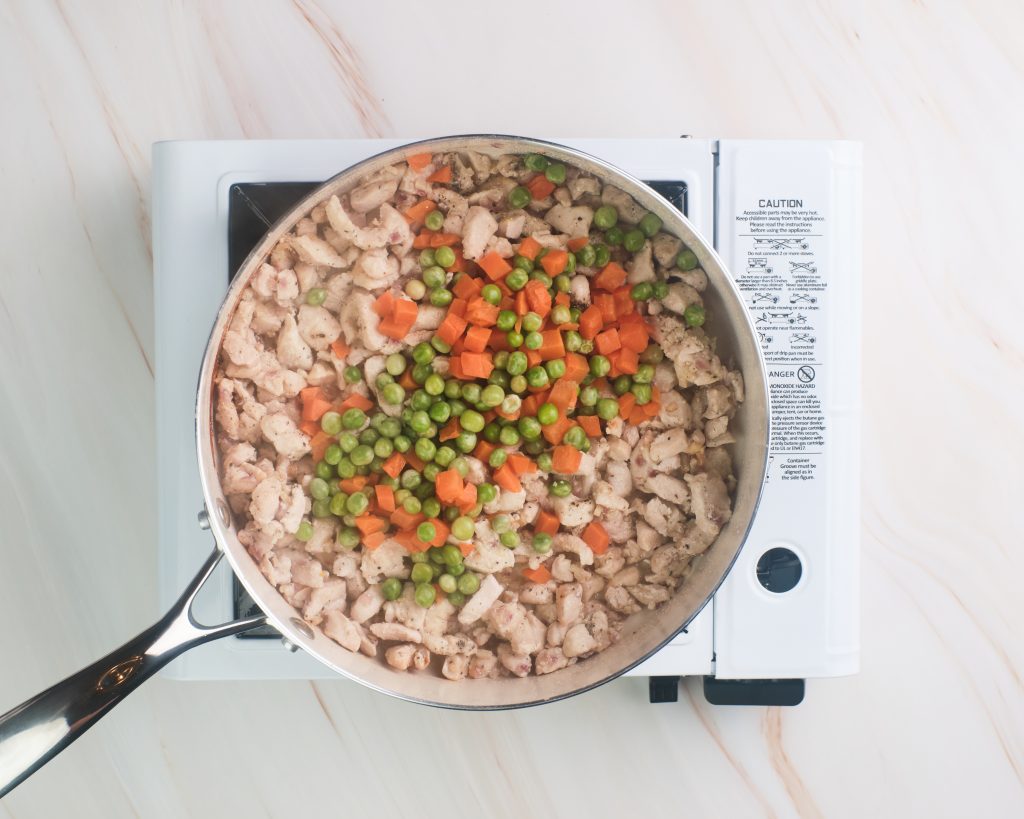
Add in the frozen peas and carrots and cook thoroughly. Then, throw in the pineapple chunks and cook until it’s caramelized around the edges.
When they’re cooked, lower the heat and add your rice. Use two spoons to thoroughly combine the ingredients, or bring out the Chinese chef in you and start tossing the ingredients together.
Anyhow, once everything’s combined, add some more salt and pepper and finish off the dish with a dash of tamari. Keep tossing for five more minutes until all the seasoning is thoroughly incorporated and the rice is hot and steamy.
Once the dish is cooked, take the pan off the stove, place the food in a pretty bowl, and serve immediately.
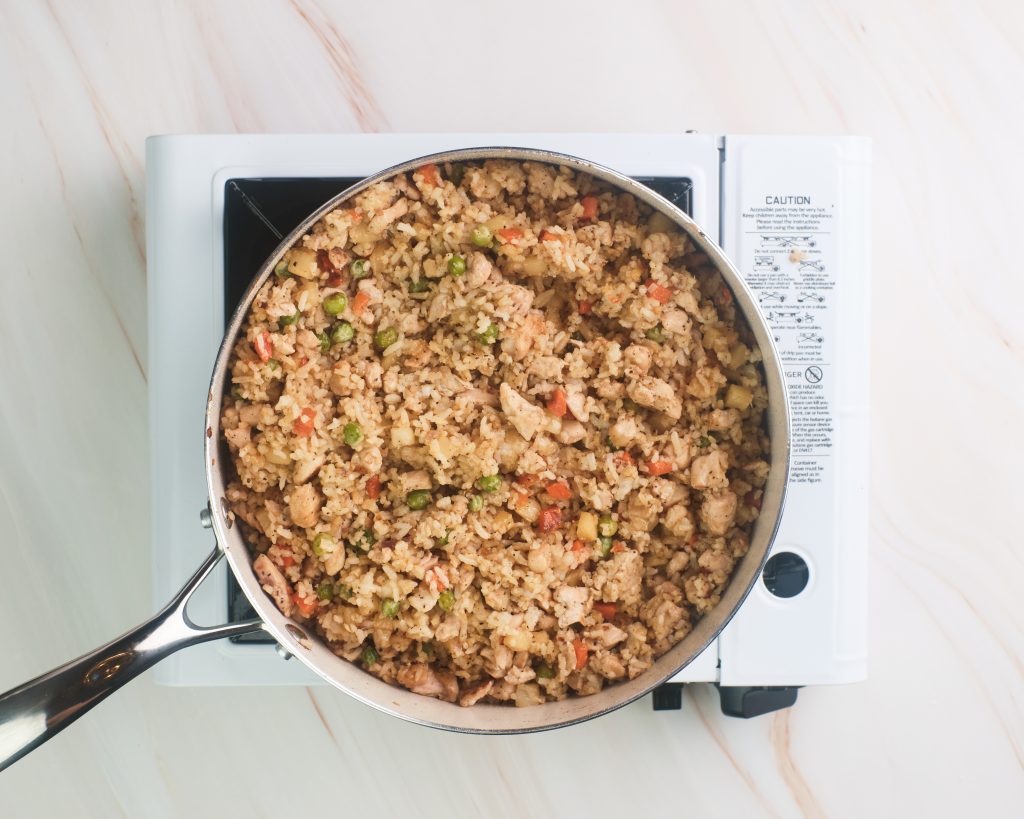
Cooking Tips:
- If you’re out of coconut oil, use any quality vegetable oil you have lying around (ex: olive oil or sesame oil).
- To add a bit more color to the dish, throw in a diced red bell pepper and some green onions. Sweet corn, green beans, and snow peas are also terrific additions to any variety of fried rice.
- For extra sweetness, add a tablespoon of brown sugar. If you’re a fan of strong, tangy flavors, some fresh ginger and lime juice will be perfect.
- Garnish your dish with any combination of lime wedges, fresh cilantro leaves, sesame seeds, roasted peanuts, and crunchy cashews.
- Serve the dish alongside sriracha or chili garlic sauce for spice-loving palates.
Should You Use Fresh Rice or Leftover Rice for Thai Style Pineapple Fried Rice?
Chilled leftover rice works best for any fried corn recipe. That’s because leftover rice is kind of dry, which will stop the grains from clumping together.
On the other hand, freshly-cooked rice grains are full of moisture. So, when you add vegetables and seasoning, the rice will turn all lumpy and mushy.
So, if possible, use at least one-day-old rice to make this delicious Thai pineapple fried rice dish.
How to Cook Rice for Pineapple Fried Rice
Before cooking the rice, make sure to rinse it well. You can use a colander or soak the rice in a pot, then change the water.
Not only will rinsing the rice remove any dirt and impurities, but it will also remove the excess starch, which is responsible for making rice sticky. Removing the extra starch beforehand will make the grains more separate when cooked.
Now, if you have a rice cooker, all you need to do is add your rice with an appropriate amount of water and let the machine do its thing.
If you don’t have a rice cooker, use a pot, add some oil to it, and put in 2 cups of water. Let the water boil on high heat, then add in the 2 cups of rice, cover the pot, and bring the heat down.
Stir occasionally, and once the rice is close to being fully cooked, drain any remaining water. Finally, let the rice steam (with the heat turned off) for a few minutes, and voila!!. Perfectly cooked rice.
Note: If you’re in a hurry and can’t wait for the rice to cool down, spread it over a baking pan lined with parchment paper and place it in the fridge.
What Are Coconut Aminos?
Quite simply, coconut aminos are a sauce made from the nectar of coconut blossoms. Once the nectar is collected, it’s then fermented and blended with salt.
When you compare coconut aminos with regular soy sauce, you’ll find that it has a slightly sweeter taste and not as much sodium. As such, it’s a great alternative for people watching their salt intake.
Moreover, coconut aminos are 100% gluten- and soy-free. That being so, they’re absolutely wonderful for individuals suffering from soy and gluten allergies.
So, if you’re looking for a way to add an umami flavor to your dish without gastrointestinal repercussions, coconut aminos are the way to go.
What Is Tamari?
Same as soy sauce, tamari is made from fermented soybeans. However, it has a thicker consistency and a less salty flavor. That’s why tamari is usually preferred as a dipping sauce.
Basically, think of tamari as the Japanese version of soy sauce. They both give you the umami you’re looking for, but tamari is a bit milder.
Should You Use Canned Pineapple or Fresh Pineapple?
Pineapple fried rice is meant to be cooked with fresh pineapples.
However, not everyone can get their hands on fresh tropical fruit. So, if you can’t find a fresh pineapple in your grocery store, any type of canned pineapple will be a good alternative.
While it won’t have the exact same taste and texture, it’ll still get the message across. And, of course, the same goes for frozen pineapple.
Pineapple Fried Rice Recipe Variations
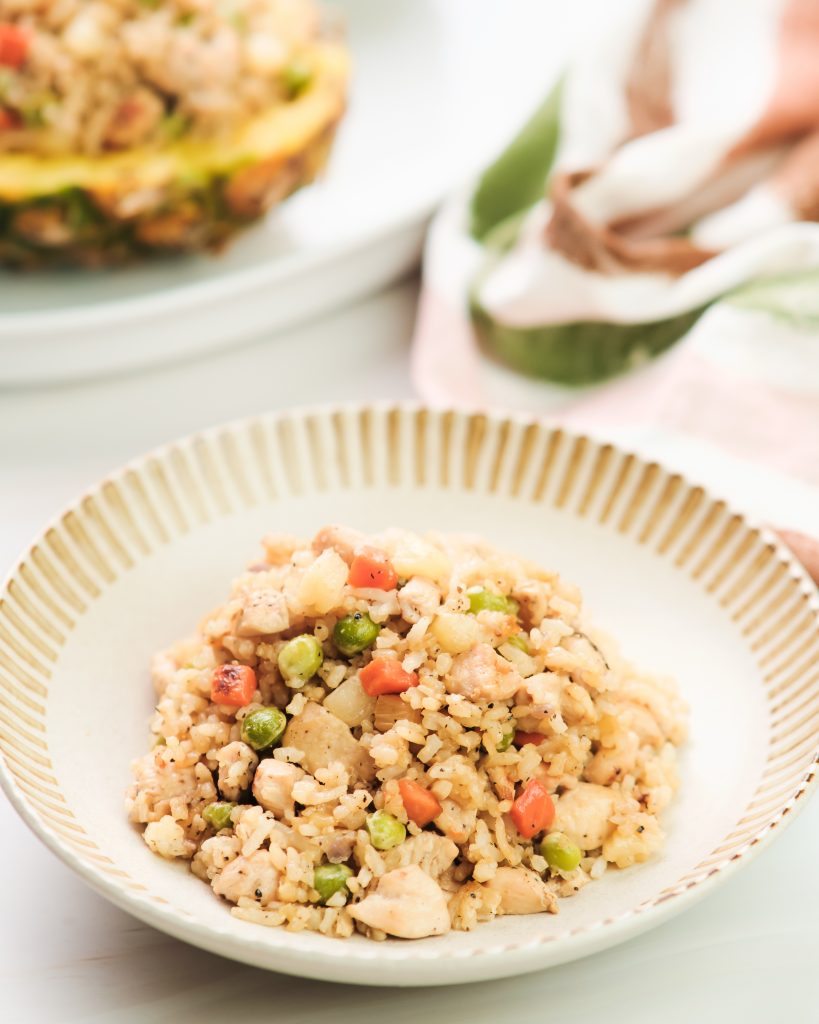
For a twist to your Thai fried rice, here are a few things you can do.
Add More Protein
If you’d like some more protein in your pineapple fried rice, add an egg to the dish. Not only will the dish become more nutritious, but the egg will also give the food a wonderful, creamy texture.
So, to add an egg to your fried, crack it into the pan once the oil is hot and scramble for a couple of minutes. Then, take it off the stove and place it to the side. Once you finish cooking all the other ingredients and adding the rice, mix the scrambled with the rice, and that’s it!!
Make It Spicy
For a nice kick, add a few red pepper flakes to your fried rice. You can also throw in a dash of chili sauce or sriracha.
Don’t worry about putting in too much. The sweet pineapple pieces will perfectly balance out the heat, giving you the ultimate tasting experience.
Make It Vegan
To make vegan fried rice, simply take out the chicken from the equation.
Still, if you’d still like to add some protein to the dish, crispy baked tofu will be a great way to do so. Simply get some extra-firm tofu, toss it with some oil, soy sauce, and starch, and bake until golden brown.
Once it’s done, add it to your fried rice in the final minutes of cooking. That way, the tofu won’t get soggy, but it’ll still absorb all the delicious fried rice seasonings.
Change the Type of Rice
If you’re not a fan of short- or long-grain white rice, a brown rice variety will serve you well.
For instance, brown basmati and jasmine rice are great alternatives, especially if you’re trying to eat healthier.
Not only does brown rice have more fiber and nutrients, but it also has a lower glycemic index value. Accordingly, diabetic individuals can eat it in moderation without fear for their health.
Play With the Sauce
Honestly, the key to making flavorsome Thai fried rice is the sauce. Play around with it and you can create many different versions that are absolutely to die for.
So, if you’re feeling adventurous, there are a few other sauce variations you can try.
- Fish sauce and oyster sauce: If you’re looking for depth and authenticity, this sauce combination will get you there. It will impart a magnificent umami flavor to this flavor that’ll leave you craving for more.
- Soy sauce and oyster sauce: This soy sauce mixture will be perfect if you’re out of tamari. While some may argue that using soy sauce in a Thai dish is wrong, I say, “Who cares?” As long as it tastes good and you don’t care about some wheat in your food, go right ahead.
- Soy sauce and curry powder: For a deep, rich flavor, throw in a little low-sodium soy sauce with two tablespoons of yellow curry powder.
What’s the Difference Between Tamari and Soy Sauce?
Truthfully, there aren’t a lot of differences between the two. They’re both byproducts of bean fermentation with very similar colors and flavors. Accordingly, many people use the two sauces interchangeably.
Nevertheless, tamari and soy sauce are different, and the distinction mainly comes from the presence of wheat.
You see, tamari is traditionally made with little to no wheat, while soy sauce contains a healthy amount.
So, if you’re allergic to gluten, tamari sauce should be your go-to. Still, make sure to check the label on your bottle to make sure the sauce is gluten-free.
How to Store Pineapple Fried Rice
Store pineapple fried rice just as you would any other dish by placing it into an air-tight container. It’ll stay good for up to 5 days in the fridge.
When you feel like eating it again, heat the leftover pineapple fried rice in your microwave or a large frying pan to bring the flavors back to life.
Pro Tip: Whenever you have any leftover rice, store it in the freezer. That way, whenever you feel like making pineapple fried rice, you’re ready to go.
What to Serve With Pineapple Fried Rice
In a nutshell, Thai dishes are best served with other Thai dishes. So, when serving pineapple fried rice, here are a few dishes you can place alongside it:
- Thai cashew stir fry
- Thai satay
- Green papaya salad
- Tom Yum Goong
- Som Tam
- Thai Massaman Curry
Straying away from Thai cuisine, stir-fried noodles, jerk chicken, or simple pan-seared fish will also work well with pineapple fried rice. Even a simple Caesar salad will do the trick.
To be honest, though, pineapple rice doesn’t really need a side dish. It’s filling enough on its own, and it has everything a meal requires. So, don’t go to any extra effort. Simply enjoy your pineapple bowl, and if you’re still hungry, eat another one!!!
To Recap
Pineapple fried rice is one of those dishes that are so easy to make it’ll become a staple in your kitchen.
All you need to do is stir-fry veggies and chicken in a large pan, then add your rice and seasonings. Just make sure to use leftover rice to get the right texture.
Other than that, get creative and add whatever you feel like. There’s no right or wrong when it comes to cooking; only delicious and more delicious!!
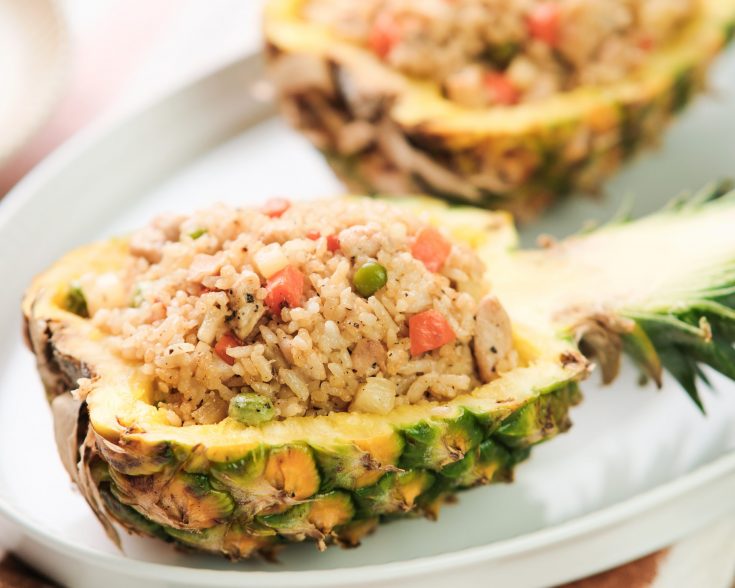
Pineapple Fried Rice
Yearning for some delicious Thai food? Click here to find the best-ever recipe for pineapple fried rice.
Ingredients
- 1 tablespoon of Coconut oil
- 1 small onion, peeled and diced
- 2 cloves garlic, minced
- 1 lb boneless, skinless chicken breasts, diced
- 1 cup of frozen peas and carrots
- 1 cup diced pineapple
- 3 cups of cooked rice
- 1 1/2 teaspoons sea salt, divided
- 1 teaspoon ground black pepper, divided
- 4 tablespoons of coconut aminos or gluten-free tamari
Instructions
- In a large skillet over medium, melt the coconut oil and add the onions and garlic. Saute for 3 to 4 minutes until the onions are translucent.
- Take the cut chicken and sprinke with 1/2 teaspooon of sea salt and 1/2 teaspoon of black pepper.
- Place the chicken the skillet and cook for 6 to 7 minutes until the chicken is no longer pink.
- Add in the frozen peas and carrots and cook for 2 to 3 minutes.
- Then add in the pineapple and rice and with a two spoons, lightly toss the rice to combine.
- Sprinke the rest of the salt and pepper over the rice and add in the tamair.
- Toss again to combine and cook for 5 to 7 minutes.
- Remove from the stove and serve immediately.
Nutrition Information:
Yield:
8Serving Size:
1Amount Per Serving: Calories: 218Total Fat: 4gSaturated Fat: 2gTrans Fat: 0gUnsaturated Fat: 1gCholesterol: 48mgSodium: 713mgCarbohydrates: 24gFiber: 1gSugar: 5gProtein: 20g


I’ve never had my knives sharpened, yikes! I try to keep up with the maintenance at home but it’s SO easy to forget to do it. :-\
I was just starting to research new knives, I NEED THEM, especially self sharpening!
Thanks for a fantastic giveaway! I’ve never had my knives professionally sharpened! And the little handheld sharpener in my kitchen drawer doesn’t often get used because the knives don’t hold their edge and need to be sharpened every. single. time. Blech!
A beautiful recipe! These knives look great!
Never!
Thank you for a great giveaway! I have never had my knives professionally sharpened. I sharpen my knives sometimes at home but I am sure they aren’t as sharp as they could be!
This looks amazing.
I love sharp knifes. But I always forget to sharpen mine.
I’ve never had my knives sharpened!
I probably shouldn’t admit it but I never sharpen my knives!
I have one really good knife that I have had for years and the rest are cheap. I would love a
professional set to make my prep so much easier!!
My husband tried sharpening a couple of them ONCE?! Lol!
Howdy y’all! My hubby sharpens my knives as often as I need them done! The last time was about a month or so ago… I also keep knife sharpening tools around for quick little touch ups just before a difficult cutting job. 🙂
I have never had my knives professionally sharpened because they are the cheap-o kind. I do have a sharpener that I try to use, but am not consistent with it! Great recipe and giveaway! 🙂
I try to sharpen them a couple of times a month
I have self-sharpening knives, but I don’t think the sharpener does a good job. So, I regularly (but not often enough!) sharpen with a device. It’s time-consuming to find in the drawer, then adjust the dial back to the first position (because I left it in the second position the last time I used it), sharpen the knife, then put it in the next position and sharpen again. There’s nothing like a sharp knife – I just wish I didn’t have to go through such a hassle.
Love those knives! Plus I love making fried rice with cauliflower all the time, pineapple is a great addition.
Never
i’ve never sharpened my knives!
I misplaced my stone, so it’s been at least 7 months. I still can’t find it :/ Thanks for the chance!
This will sound crazy. I actually have a really expensive set of knives (Wusthof) but I always find myself using a cheap self-sharpening knife instead, because I’m just not skilled at keeping the Wusthof knives sharp on a regular basis. Now, to have a quality set of self-sharpening knives – seriously would be a dream come true.
I’ve never had them sharpened, bought a knife sharpener one time, put it in a drawer and have never found it again. DUH
I’ve never had my knives sharpened!!
We sharpen out knives often but they are so old they have chips in them so not much use. We are in desperate need of knives. Thanks so much 🙂
My husband sharpens them weekly…. when he’s cooking on the weekend!
Never! I don’t have the greatest knives. 🙁
Ive never had my knives sharpened.
It was a long time ago
I never have done that.
My knives are a few months old, so I haven’t haf to sharpen them yet.
My knives are ancient, dull and never sharpened. I have good knives at the top of my Christmas wish list. Thanks for the intro to these.