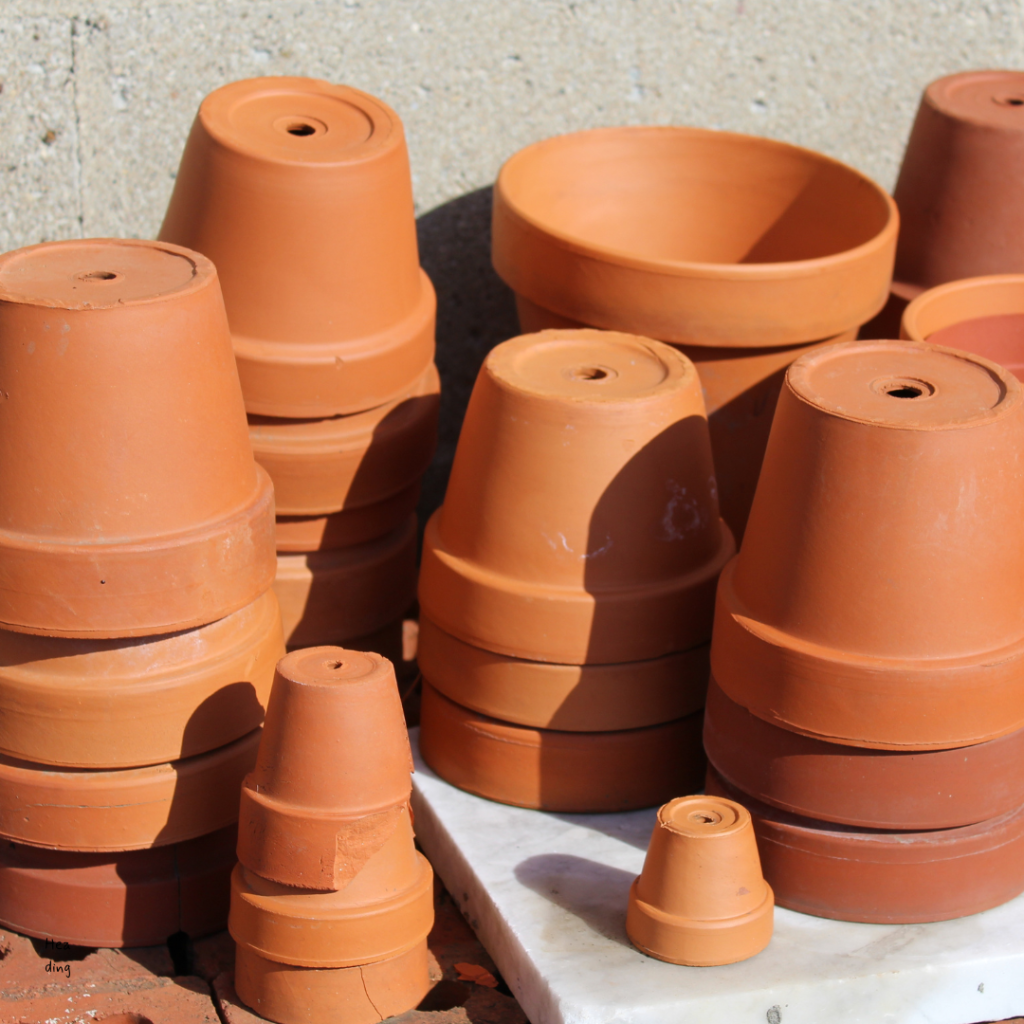
DIY Ollas: The Lazy Genius Way to Water Your Garden
This post contains affiliate links. Click here to read my affiliate policy.
Last Updated on April 29, 2025

I’m deep in my first real garden season, and let me tell you — watering every day is not the vibe. So when I found out about ollas (clay pots you bury that water your plants slowly), I had to try it.
Turns out, you can make your own for around $6 — and they work beautifully.
Here’s everything I’ve learned, including how to make your own olla, how to plant it, and a few beginner mistakes to avoid (yes, I made them so you don’t have to 😂).
What Is an Olla?
An olla is a buried clay pot that slowly releases water into the soil around your plants. They’ve been used for over 2,000 years — no electricity, no timers, just porous clay doing its thing.
The idea is simple:
You fill the olla with water, and it seeps out slowly through the pot walls, keeping your soil moist right at the root level.
It’s perfect for:
- Garden beds
- Raised beds
- Container gardening
- Lazy girl gardening in hot summers (hi, it me 👋)
How to Make a DIY Olla

What you need:
- 1 unglazed terracotta pot (like the kind you find at the garden store)
- 1 silicone wine stopper (or food-safe cork or tile plug)
- A bucket to soak it in
Step-by-step:
- Plug the drainage hole with the wine stopper.
- Soak the whole pot in water for a few hours (so it’s fully saturated).
- That’s it — you’re done!
Cost breakdown:
I spent about $6 per olla, compared to $30–50 for pre-made versions.
How to Plant an Olla
This is important — don’t just bury it and hope for the best.
- Dig a hole where you want your olla (I just scooped mine out with my hands — new beds FTW).
- Place the olla so the top lip is above the soil line — if it’s too low, you’ll get dirt and mulch inside every time you water.
- Pack the dirt back around the pot.
- Cover the area with mulch or straw.
- Fill the olla with water — and boom, you’re done!
Pro tip:
One olla can usually water plants in a 2–3 foot radius, depending on soil and weather.
Olla Mistakes to Avoid
Here’s what I learned the hard way:
- Don’t bury the whole thing — leave the top exposed.
- Don’t use glazed pots — water can’t seep through.
- Soak before planting or it won’t work right.
- Put them close to your plants’ root zones, not randomly in the bed.
Bonus: I Used ChatGPT to Plan Mine
Yup. I literally asked ChatGPT what size olla I needed for my beds and how many.
It helped me figure out spacing and coverage based on my layout — so I didn’t waste time (or clay pots).
Work smarter, not harder is the whole theme here. 😂
Watch It in Action
👉
@kelly_bejelly No $50 olla needed 😂 DIY for $6! #gardentok #lazygenius #firstgarden ♬ A Happy Farm – codemusic
Tools I Used (TikTok Shop links coming soon!)
(Affiliate links — thanks for supporting this lil garden experiment!)
Final Thoughts
If you’re a beginner gardener, or just tired of watering by hand every day, ollas are such a win.
They’re cheap, simple, and have already saved me a ton of time.
I’ll keep updating as I learn more this season — and if you’re on TikTok, come hang out!
👉 @kelly_bejelly


