This post contains affiliate links. Click here to read my affiliate policy.
Last Updated on February 28, 2024
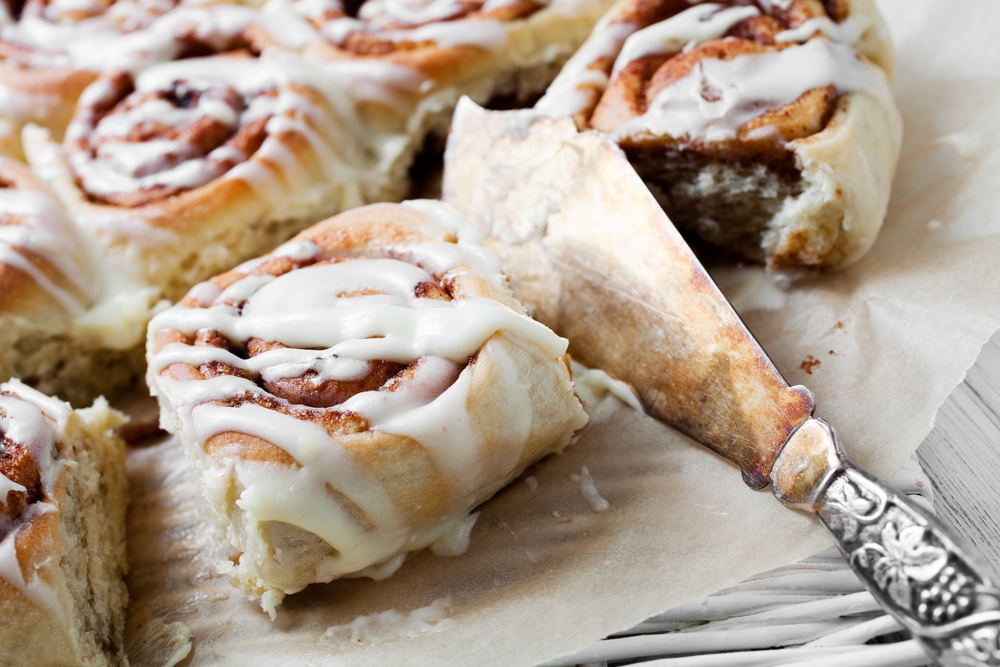
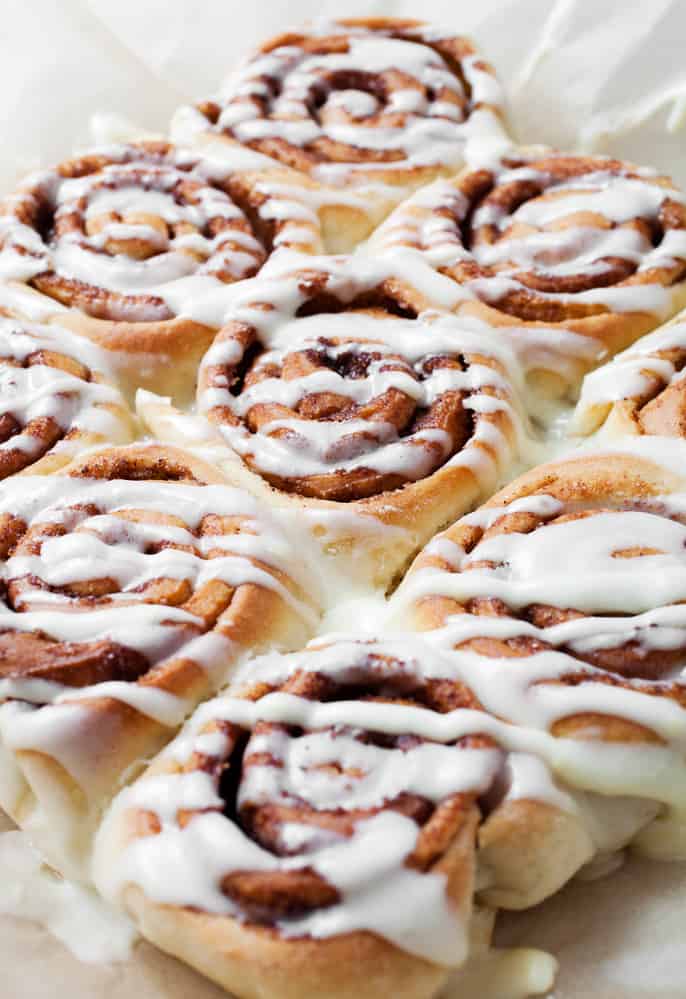
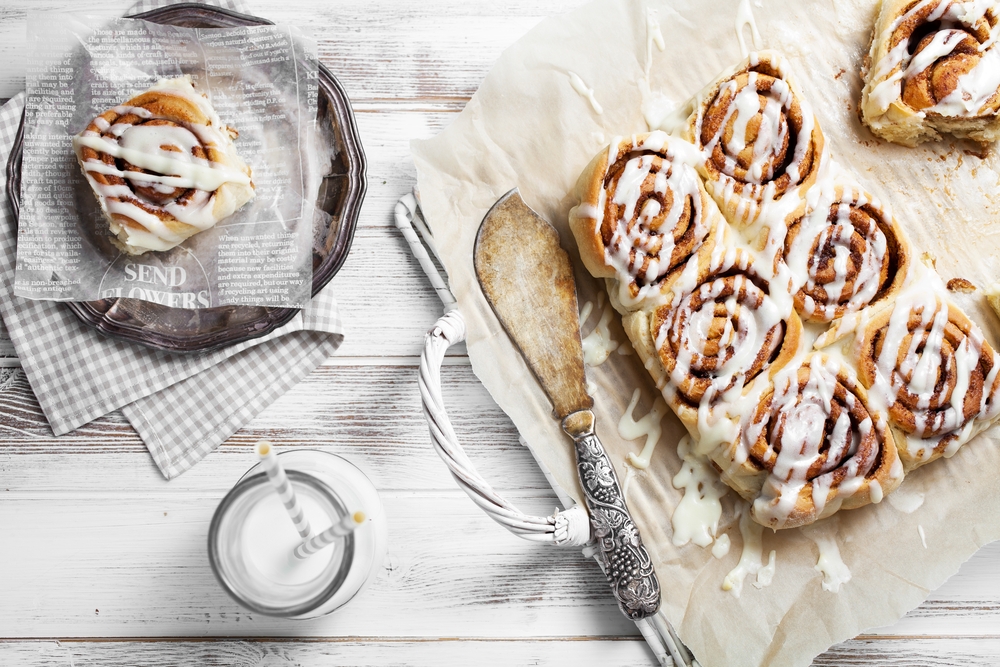
One of my all-time favorite baked goods is a warm and sweet, cream cheese icing covered gluten free sourdough cinnamon rolls. I decided to make the ultimate easy gluten-free cinnamon roll, with the added flavor boost of using a sourdough starter.

Cookies are dreamy, cakes are nice, but cinnamon rolls are just irresistible.
And even though gluten-free versions are difficult to find on the market, going gluten-free isn’t going to keep me from enjoying them.
Sourdough Starter Base
As you know, cinnamon rolls are usually made with store-bought yeast. In this case, I used the wonderful and wild starter.
I nurtured for the Gluten-Free Sourdough Bread to make naturally leavened gluten-free sourdough cinnamon rolls.
The developed sourdough taste takes these cinnamon rolls to the next level of yeasted goodness.
Once you’ve made the effort to bring your gluten-free starter to life, you’re going to be excited to try different doughs.
There are endless varieties of breads to try, but loaf bread isn’t the only option you’ve got. Almost any leavened dough can be made using a wild yeast starter.
That includes cinnamon rolls – sweet, perfect, delicious, heart-warming cinnamon rolls that are going to excite anyone who tastes them!

I bet you can already smell that dreamy buttery cinnamony goodness wafting from the oven. Or you will very soon.
If you’ve made classic cinnamon rolls before, you know the process can be a little time consuming and somewhat complicated.
In this recipe I aimed to create gluten free sourdough cinnamon rolls that are:
EASY – Using gluten-free flour makes the entire process easier by reducing the amount of work you have to put into the dough to develop the gluten.
Instead of spending time kneading, bulk-fermenting and proofing again after shaping, you go straight from mixing the dough to shaping the rolls.
FLEXIBLE – This dough can be made and proof in a warm area for about 3 hours, then baked & enjoyed!
If you want to bake them fresh in the morning, the dough can be made and shaped the night before and left to proof overnight in the refrigerator.
Either way, you have tasty cinnamon rolls when you want them.

INDULGENT – Let’s face it, gluten free sourdough cinnamon rolls are a treat.
So I wanted to make sure to include the parts of it that make them such a pleasure to eat.
For me, that’s a buttery dough, a healthy amount of quality cinnamon, and a thick and rich, perfectly balanced cream cheese frosting.

The Best Gluten Free Sourdough Cinnamon Rolls You'll Ever Eat
Made from scratch, these gluten free sourdough cinnamon rolls are covered with warm, gooey icing
Ingredients
DOUGH
- 1 cup Gluten-Free Starter
- 2 ½ cups Gluten-Free Flour
- ¼ cup Sugar
- 1 teaspoon Salt
- 1 ½ teaspoon Psyllium Husk Powder
- 4 Tablespoons Butter, softened
- ¾ cup Whole Milk, warmed
- 1 each Egg
- 1 teaspoon Vanilla Extract
FILLING
- 1 Tablespoon Melted Butter
- ⅓ cup Brown Sugar
- 1 ½ teaspoon Ground Cinnamon
FROSTING
- 4 ounces Cream Cheese softened
- 4 ounces/8 Tablespoons Butter softened
- 1 cup Confectioner’s Sugar
- ¼ cup Milk
Instructions
The night before you plan on making the dough, feed and water your sourdough starter. You’ll need a full cup of starter for the recipe.
In the bowl of a stand mixer, fitted with a paddle attachment, measure out the flour, sugar, salt, psyllium husk, and starter. In a liquid measuring cup, measure out the milk, vanilla, and egg. Measure out the softened butter and set aside.
With the mixer on low speed, stream in all of the wet ingredients. Add the softened butter and turn the mixer up to medium speed and paddle until all of the butter has been beaten in about 2 minutes. The dough will not be the same texture as a typical wheat dough. The texture is a lot more like a sticky, cookie dough. It’s neither super soft nor very hard.
Turn the dough out onto a piece of oiled parchment paper. You’re going to roll out the dough into a 10” x 16” rectangle. I like to draw a rectangle on the backside of the parchment as a guide. Press the dough into a flattened rectangle, cover with another sheet of oiled parchment, and roll the rest of the dough with a rolling pin.
Brush on the melted butter. Mix the brown sugar and cinnamon, and sprinkle all of it over the dough evenly.
Starting at the top, roll the dough down the shorter (10”) length of the dough. To make the rolling easier, use the oiled parchment paper to guide the dough over and roll. Roll the dough down until the seam is on the bottom of the roll. Cut into 1 ½” slices, about 11-12 pieces.
Arrange the cinnamon rolls into an oiled 9” cake pan or springform pan.
PROOFING & BAKING
If you’d like to bake the cinnamon rolls the next day, cover the pan in plastic wrap and leave in the refrigerator overnight to proof.
If baking the cinnamon rolls on the same day, proof in a warm area for about 3 ½ hours. I like to turn my oven to 100𝇈F, put the rolls in and turn it off to proof. The dough will puff and fill out the pan.
When you’re ready to bake, preheat the oven to 350𝇈F. Brush the cinnamon rolls with a little melted butter. Bake for about 35 minutes, or until a knife tip or toothpick inserted in several places comes out clean.
In a bowl with a rubber spatula, stir together softened cream cheese, butter, and confectioner’s sugar until it comes together in a soft paste. Whisk in milk until smooth and creamy. Frost the cinnamon rolls all together or one at a time. Or dip your cinnamon roll into the frosting with every bite, I won’t judge you.
Notes
- I used Pillsbury Gluten-free flour for this recipe. It includes rice flour, potato starch, pea fiber, tapioca starch, and xanthan gum. I’d suggest using a similar flour mix for a comparable outcome.
- For the dough, filling, and frosting I used cane sugar. If you’d like to replace it with Swerve or a sugar substitute of your choice, go for it!
Nutrition Information:
Yield:
12Serving Size:
1Amount Per Serving: Calories: 330Total Fat: 17gSaturated Fat: 10gTrans Fat: 1gUnsaturated Fat: 5gCholesterol: 60mgSodium: 322mgCarbohydrates: 40gFiber: 1gSugar: 19gProtein: 5g


Cinnamon rolls are the best! I could eat the whole pan!
My favorite!! These are fantastic and I can’t believe they are gluten free.
These are so perfect! And that icing!
Uff, ended up with a mess! Just didn’t work, batter was too soft, I should have added more flour, so I did get it rolled, cut the wax paper in half, had a French roll pan put it in those, well ya just never know, might be good!
Mine is a wet mess as well. I followed the recipe to a tee and added more flour. I haven’t even baked yet. It’s gonna be more like pull apart bread at this point. The rolls completely fell apart trying to transfer them to the pan
I’m sorry to hear that you had difficulty with the recipe. Dealing with a wet and sticky dough can be frustrating. Here are some suggestions to help you salvage the situation and improve the outcome:
Add more flour gradually: Since the dough is too wet, try adding more flour little by little until you achieve a smoother, workable consistency. Gluten-free flours can behave differently, so it’s essential to adjust as needed.
Refrigerate the dough: If the dough is too sticky to handle, you can refrigerate it for a while (around 30 minutes to an hour) to firm it up. Chilling the dough can make it easier to shape into rolls.
Use parchment paper or non-stick surface: When transferring the rolls to the pan, use parchment paper or a non-stick surface to prevent them from sticking and falling apart.
Be gentle when handling: Gluten-free dough can be delicate, so handle it gently to avoid breaking apart the rolls during transfer.
Consider the sourdough starter: Ensure that your sourdough starter is at its peak and active. A well-fed and bubbly starter can contribute to a better texture and rise in the dough.
Learn from the experience: Baking with gluten-free sourdough can be a learning process, and it might take a few attempts to get the perfect result. Don’t be discouraged; keep experimenting and adjusting the recipe as needed.
I hope these tips help you with your cinnamon buns. Remember, baking can be trial and error, and don’t hesitate to make adjustments to suit your preferences and the specific characteristics of the ingredients you’re using. Best of luck, and I hope your next batch turns out wonderfully!
Oh. my. goodness. Sourdough cinnamon rolls are my favorite!
Oh my, these are like heaven in a pan!!
I am new to sourdough and I am terrified my starter I got from a friend isn’t alive as I read to put it overnight in cold oven with light on. The light heated up the oven and it felt every warm by morning. Not hot but very warm. (My light must have overheated)
I am using the starter to make this recipe today but was wondering if I should add a little yeast to the recipe just in case the sourdough doesnt work?
Hi there! Your sourdough starter should be kept at room temperature, or slightly warm, so leaving it in the turned-off oven should have been perfectly fine. Are there any indications on the side of the container that it rose and fell overnight after being fed? Even if the yeast has consumed most of its sugars and is dormant, another feeding or two should revitalize it.
With that said, if you want to add a teaspoon or so of yeast to your liquid before mixing the dough, it won’t harm your dough. Just watch for the dough to be doubled in size to know when to pop it in the oven!
Out of curiosity, what is the purpose of the psyllium husk? It’s not an ingredient I’ve used before in GF baking.
Psyllium husk powder is high in fiber and mimics the gluten that would otherwise be provided by wheat. While it’s not an identical ingredient, it helps build structure.
hi. these didn’t work out for me as cinnamon rolls. the dough was too sticky. actually it seemed about right when i had added half the milk. then i added the rest against my better judgement maybe but it seemed a lot to leave out. after that the dough was way too sticky so i added more flour. still no way to roll it out. i used a different gf flour so maybe that was it. i put the dough in a baking dish and topped it with the filling to wait it out until i can bake it. seems like i still might get something out of it. any idea what might have happened?
I hope Kelly doesn’t mind if I answer, as she hasn’t gotten to it yet.
Gluten free dough has to be sticky and light in order to rise at all, more like cake batter than the stiff bread dough made with wheat. The consistency in the recipe is correct. It may seem like a dough like this can’t be rolled, but there is a way. Kelly describes putting a second sheet of parchment on top of the dough—this is because rolling it out is more like “squishing” it out. Then she says to use the bottom parchment to help you roll it. Basically, you’re picking up the paper at one end and letting the dough fall off as it forms a roll. Maybe you could find a YouTube video of the technique to help you visualize it.
Same problem here! Got it rolled (challenging), but then it just spread before I could cut it. Then trying to keep it a ‘roll’ shape transfering it to the pans…impossible! In the oven rising now…sure hope it works :S
My rolls didn’t rise. I made my own sour dough starter and read all that I could about it and it is alive and I have bakes lots of bread & rolls in my life but these just didn’t rise. Any suggestions?
I had the same thing happen.. any solution?
Hi! I tried this recipe and worked out okay. No problems rolling it or anything like that, but I found the finished cinnamon roll not to be very soft and fluffy- was more of a biscuit texture. Is this how it’s supposed to be or have I done something wrong? Thank you!
dough was too runny– even after adding more flour– just dumped in loaf pans and will see how turns out…
Hello! If we proof these in the refrigerator overnight, do we go straight to the oven in the morning? Or do they need to ride at room temp for a while first? Thanks!
Hello! If you proof the cinnamon buns in the refrigerator overnight, you can go straight to the oven in the morning. There’s no need to let them come to room temperature before baking. Simply preheat the oven as directed in the recipe and bake the proofed cinnamon buns until they are golden and cooked through. The overnight proofing will give the buns a chance to develop flavor and texture, making them even more delicious. Enjoy your freshly baked gluten-free sourdough cinnamon buns! Happy baking!
Hi! I’m not sure when I’ll be able to get my hands on Psyllium husk powder. Do you have any suggestions for a substitute? The articles I’ve found have suggested flax seed, cornstarch, or xanthum gum. If my flour already has xanthum gum, can I omit the husk power? Thanks in advance!
The xanthum should thicken it so should be able to skip the psyllium husk powder HOWEVR, I’ve never done this so I’m not sure how it will turn out.
I have the worst time trying to get GF Sourdough to rise at all. Whether it be my bread or these cinnamon rolls. Idk what I’m doing wrong. My starter is good, used Psyllum powder, pre-mixed flour… I have them proofing now and they aren’t “growing”. Any suggestions?
I’m sorry to hear that you’re having trouble getting your gluten-free sourdough to rise. Achieving a good rise with gluten-free sourdough can be challenging due to the absence of gluten, which provides structure and elasticity in traditional bread.
Here are some suggestions to help improve the rise of your cinnamon rolls:
Check your starter: While you mentioned that your starter is good, it’s essential to ensure that it’s active and bubbly before using it in the recipe. An active starter is crucial for proper fermentation and rise.
Give it more time: Gluten-free sourdough might require longer proofing times compared to wheat-based sourdough. Be patient and allow the dough to proof for an extended period, even up to several hours, until you notice some rise.
Warm environment: The proofing environment plays a significant role in the rise. Ensure the dough is placed in a warm area (around 75-80°F or 24-27°C) with consistent temperature to encourage fermentation.
Use a smaller pan: For cinnamon rolls, using a smaller pan can help them rise better. If the pan is too large, the rolls might spread out instead of rising upward.
Add a bit of baking powder: Consider adding a small amount of gluten-free baking powder to the dough. This can help provide extra lift and contribute to a better rise.
Don’t overproof: On the other hand, be cautious not to overproof the dough, as it can lead to collapse during baking. Keep an eye on it and bake once you see a noticeable rise.
Experimenting with these tips should help you achieve better results. Gluten-free sourdough can be a bit finicky, so don’t be discouraged if it takes a few attempts to get it just right. Happy baking, and I hope your next batch of cinnamon rolls turns out beautifully!
I have a sensitivity to eggs, would I be able to use flax eggs instead?
Absolutely! If you have a sensitivity to eggs, you can use flax eggs as a substitute in the Gluten-Free Sourdough Cinnamon Buns recipe. Flax eggs work well as a binding agent in many baked goods, including cinnamon buns. To make a flax egg, simply mix 1 tablespoon of ground flaxseed with 3 tablespoons of water and let it sit for a few minutes until it becomes gel-like.
When incorporating the flax egg into the recipe, use it in place of the regular eggs. Keep in mind that the texture and rise might be slightly different from the original recipe, but it should still yield delicious cinnamon buns. Enjoy your egg-free baking!
Hi! I do not have a stand mixer. Could I mixed the dough with my hands? Or what would be the best option 🙂 thanks!
Hello! Yes, you can absolutely mix the dough with your hands if you don’t have a stand mixer. Mixing by hand is a great option for this recipe. Simply combine the ingredients in a mixing bowl, and then use your hands to knead and mix the dough until it’s well combined and forms a smooth texture. Hand mixing can work just as effectively as a stand mixer and will help you achieve the desired results for your Gluten-Free Sourdough Cinnamon Buns. Happy baking!
My dough came out super soft and I had to basically make a cake… any troubleshooting advice?
I’m sorry to hear that your dough turned out too soft. To troubleshoot, try adding a bit more flour gradually until you achieve a workable consistency. Gluten-free flours can vary, so adjustments may be needed. Additionally, ensure your sourdough starter is active and bubbly, and consider refrigerating the dough to make it easier to handle. Don’t lose hope; baking with gluten-free sourdough can take some experimentation. Best of luck!
Nope! Had high hopes for this one, but absolutely too wet, sticky, and sloppy to resemble cinnamon rolls. I ended up slopping the whole thing into a cast iron skillet and baked as was. It was edible and good, but not a structured cinnamon roll.
I’m sorry it didn’t work out for you, but glad it was edible for you.